WordPress
Integration of NotifyVisitors Plugin with Wordpress
INTEGRATION WITH WORDPRESS
WordPress is a powerful tool that enables you to build great websites. The WordPress plugins are the apps that allow you to add new features and functionalities to your WordPress site. Also, these plugins are small software apps that integrate and run on top of your WordPress software. It enables you to create any kind of website with WordPress.
For example - You can add the push notification prompts on your website to engage your users or subscribers with your services and further turn them into loyal customers. NotifyVisitors enable you to perform this functionality in easier and simpler ways, but before that, you need to integrate WordPress with NotifyVisitors. Read this article to know the integration process to run custom and native push notifications prompt on your website.
INTEGRATE WORDPRESS WITH NOTIFYVISITORS:
As stated above, WordPress integration is done through the WordPress plugins which are written in the PHP programming language and integrate seamlessly with WordPress. They make it far more flexible and easier for the users to add features to their website without any requirement of coding skills or knowledge.
*Below are the steps for integrating WordPress with notifyvisitors :
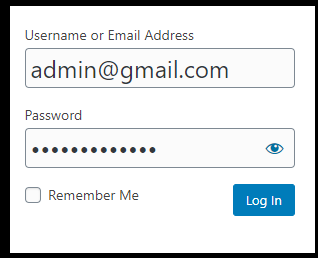
- Login to the WordPress account and enter the credentials to begin the process.
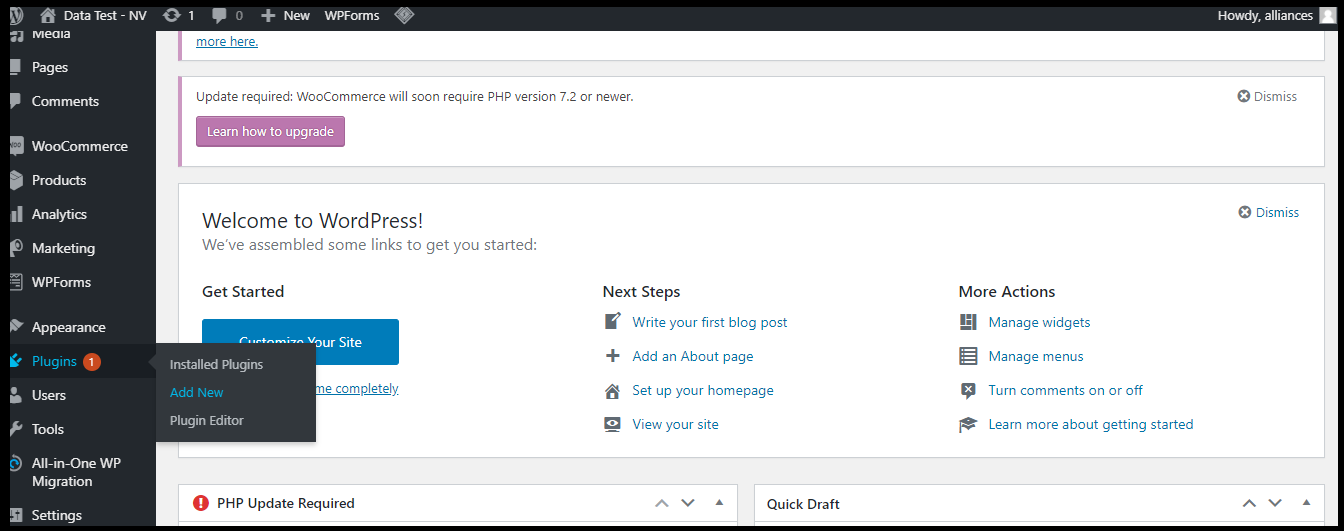
- As you are redirected to the WordPress dashboard, you can view the PLUGINS option on the left side navigation bar of the dashboard. Tap on it to “ADD NEW PLUGINS”
- You have two options to install the plugin and download it - Either navigate to the link below and directly download it or Go to the SEARCH PLUGINS bar on the branch dashboard and search for the Push notifications plugin. Refer to the next step for more details.
https://wordpress.org/plugins/notifyvisitors-web-push-notification/
- Click on to the ADD NEW PLUGIN to install the NotifyVisitors Push Notifications for WordPress by NotifyVisitors. Go to the SEARCH PLUGINS bar on the right side of the dashboard and search for the same plugin.
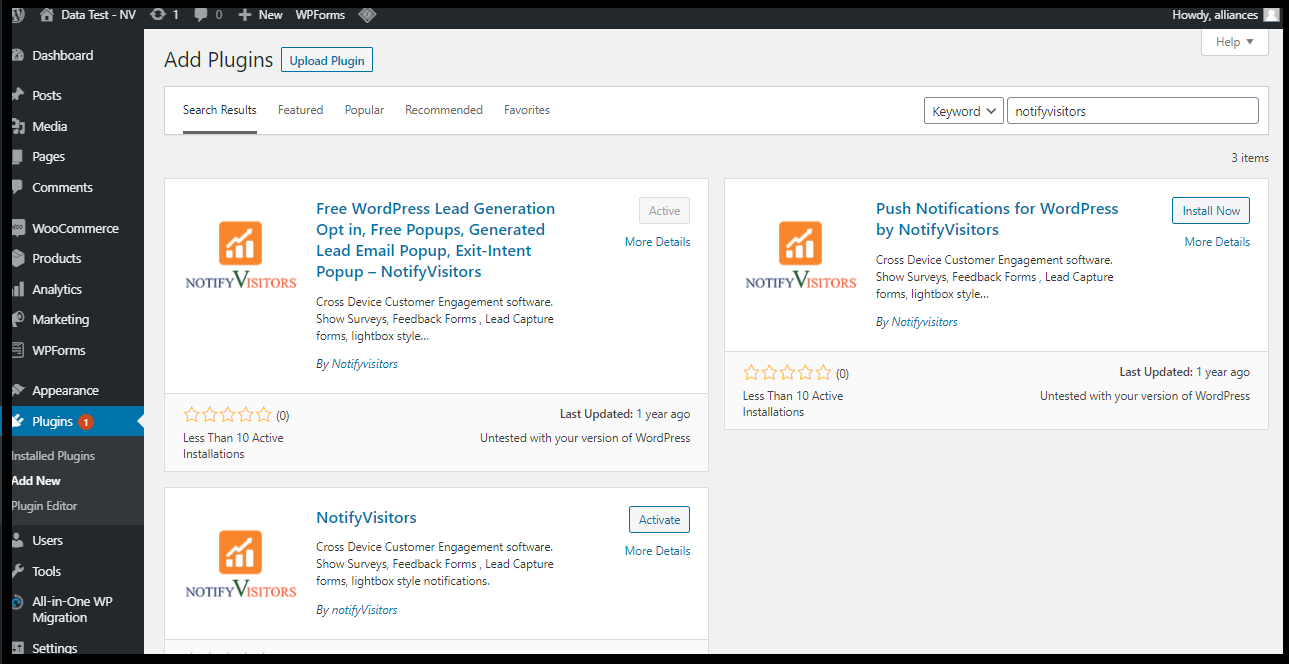
- Click on the INSTALL NOW button in front of the PUSH NOTIFICATIONS FOR WORDPRESS BY NOTIFYVISITORS plugin. You need to install and activate the WordPress plugin to integrate with NV to, later on, run the push notifications prompt on your site.
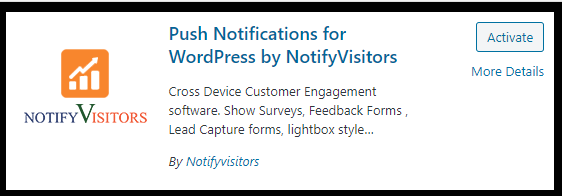
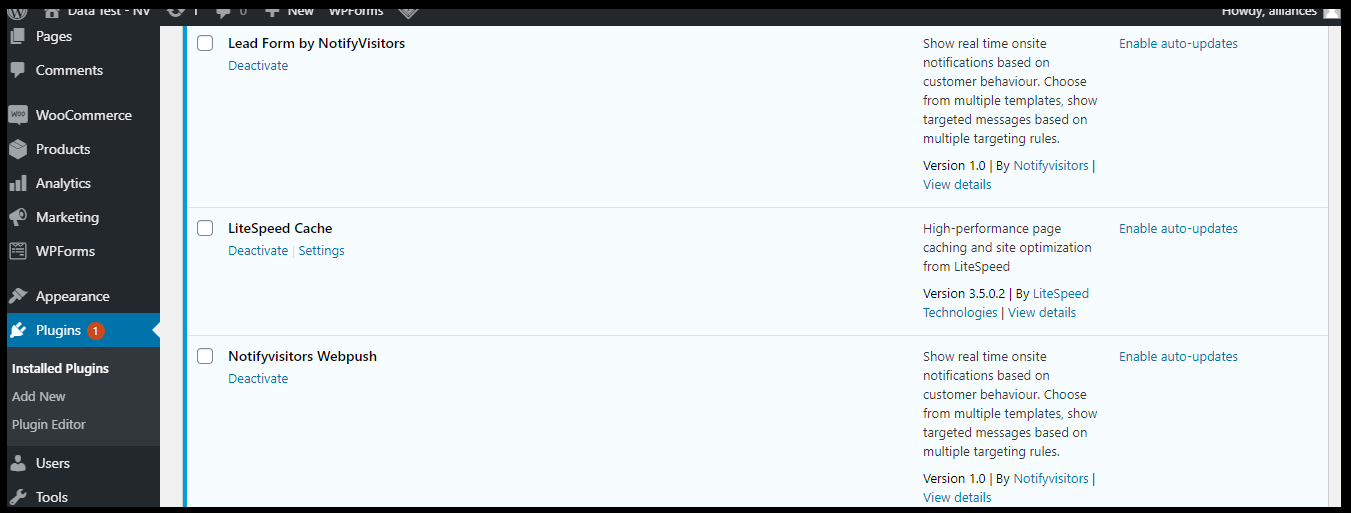
- Once you activate the plugin, you can view the NotifyVisitors Web Push activated in the plugins section.
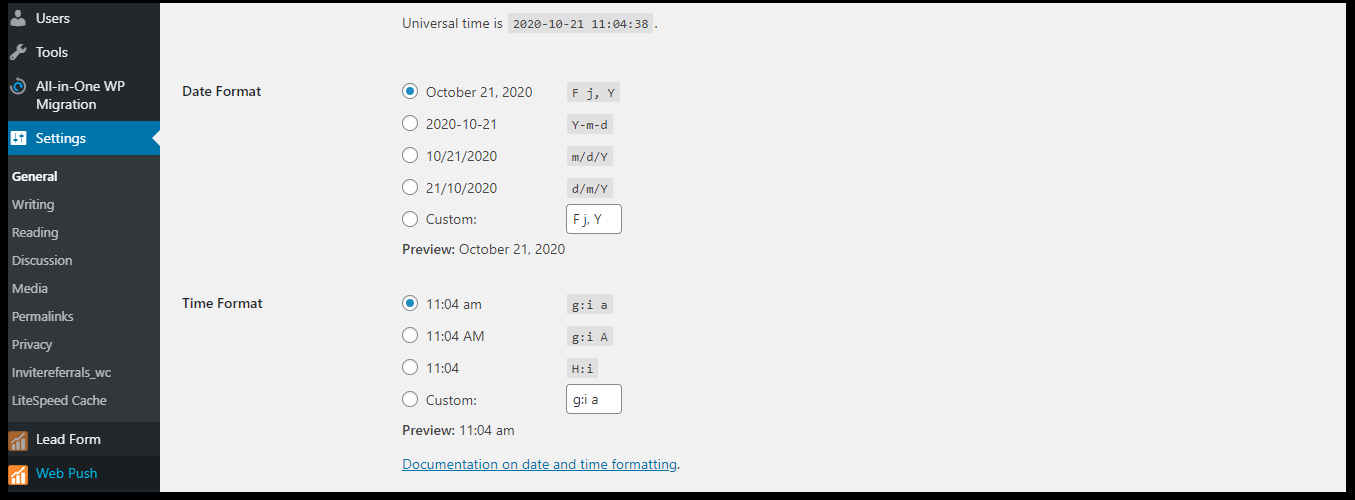
- Navigate to the left side navigation bar of the panel to view Settings> Web push to proceed with the integration process.
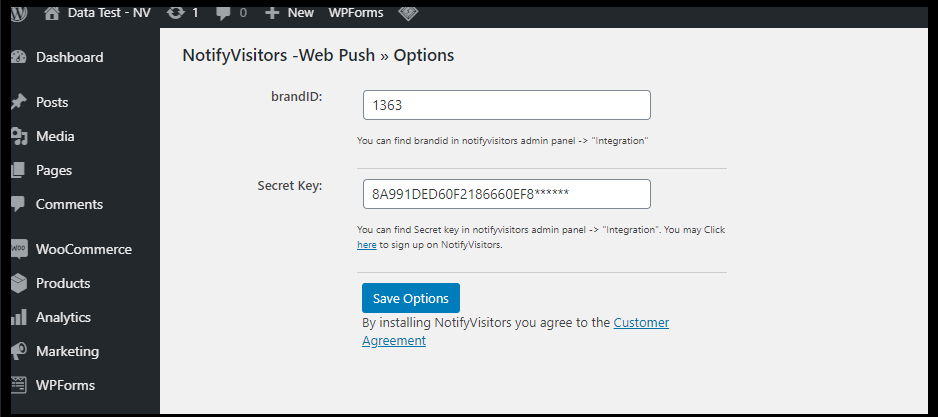
- Enter the brand key and secret key of NotifyVisitors to wind up the integration process.
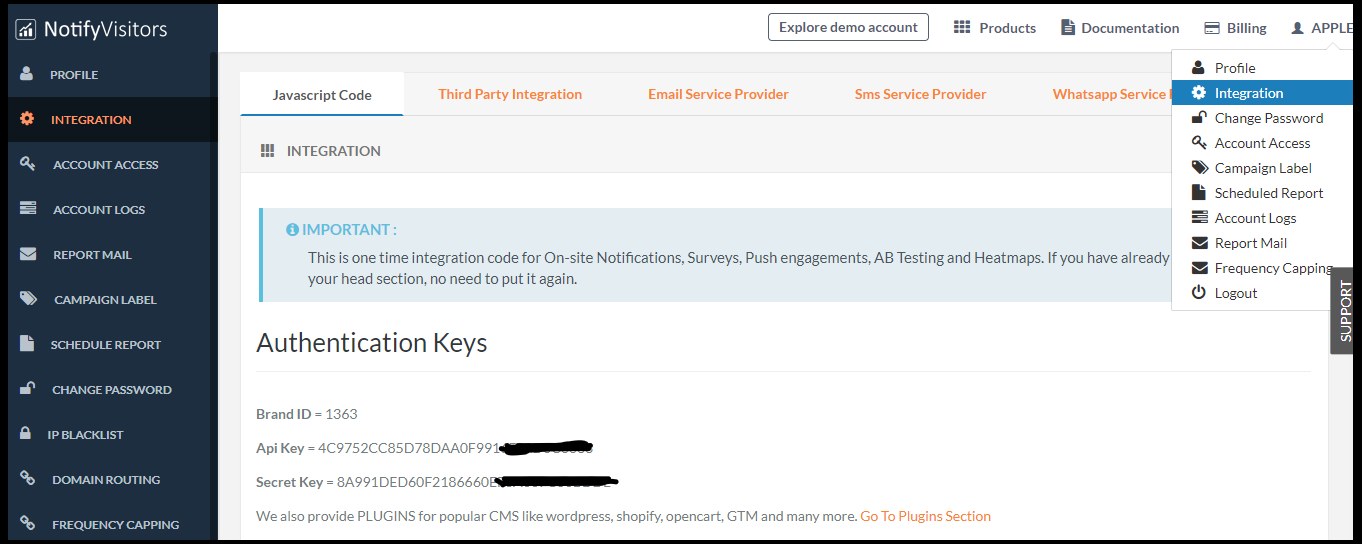
NOTE :
Find the credentials for brand id and secret key by navigating to NV dashboard>Integration
Now that the integration process is completed, let’s discuss the steps to activate push notifications on your site.
ACTIVATE PUSH NOTIFICATIONS ON YOUR SITE
In order to activate push notifications on your site, you are required to follow the below steps ;
- Navigate to the NV dashboard> Web push >HTTPS settings.
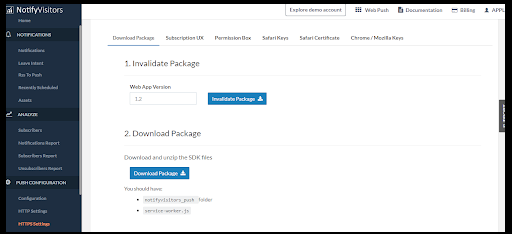
- First of all Click on the invalidate package. Once the package is invalidated, click on the Download package to download files that you need to upload in the root directory of your site.
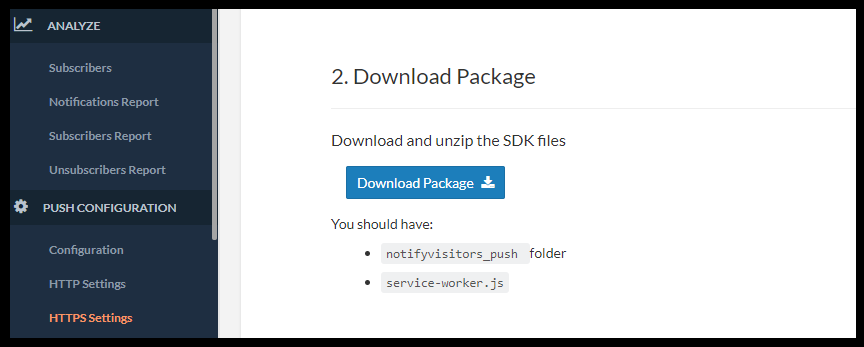
- Now, extract the downloaded files and upload the files to the root directory of the WordPress Website.
Find the root directory of the website :
-
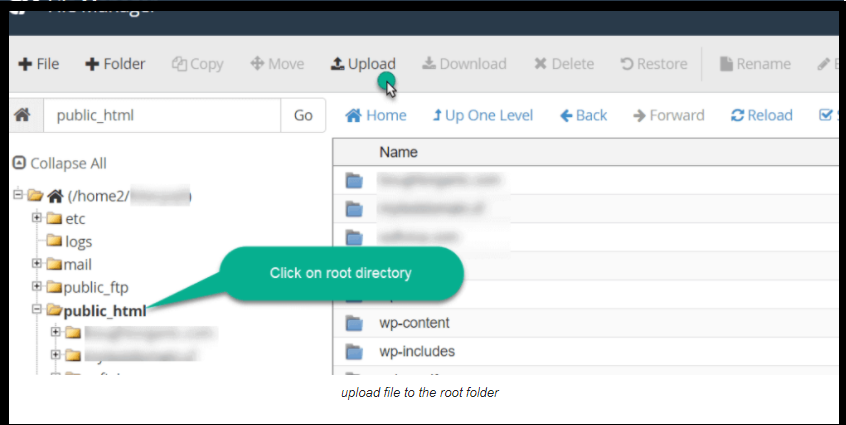
The root directory is the folder that stores all the files for your website and that folder name is public_html on the server (Cpanel). By default, it’s your primary domain folder.
-
Simply log in to your Cpanel and open your File manager to search for the root directory, i.e. Public_html.
Upload files to the root directory of the website :
- Click on File_Manager in the Cpanel and find the root directory of the domain on which you want to send push notifications.
-
Select the root directory and click on upload.
-
Select the file you want to upload and hit on the submit button.
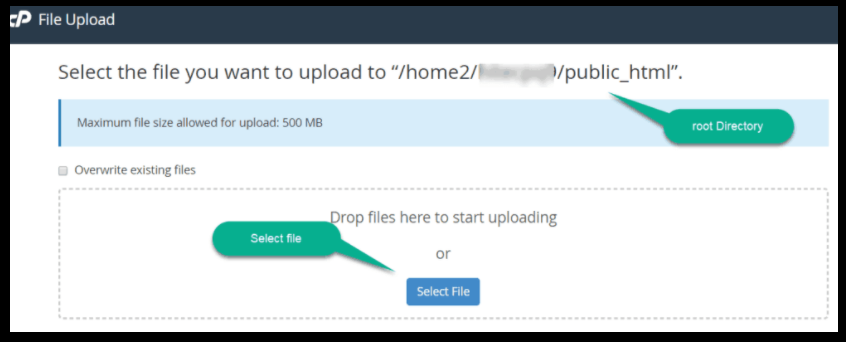
Once you upload the files on the Wordpress site, the push notifications will be activated on your site.
Updated about 5 years ago
