Via SFTP
OVERVIEW
User data plays an important role in engaging and retaining customers with your marketing campaigns. NotifyVisitors enables you to upload the user and event data so that you can analyze the users, segment them and engage them further based on their actions, behavior, and different psychographic and demographic factors.
You can upload all the data (user and event data) once you create a connection with our servers.
PRE-REQUISITES
You must have an SFTP client to be able to import data to NotifyVisitors’ SFTP server. You do not have to upload the data manually at every point of time. One can upload the data automatically at regular intervals.
Configure SFTP Credentials
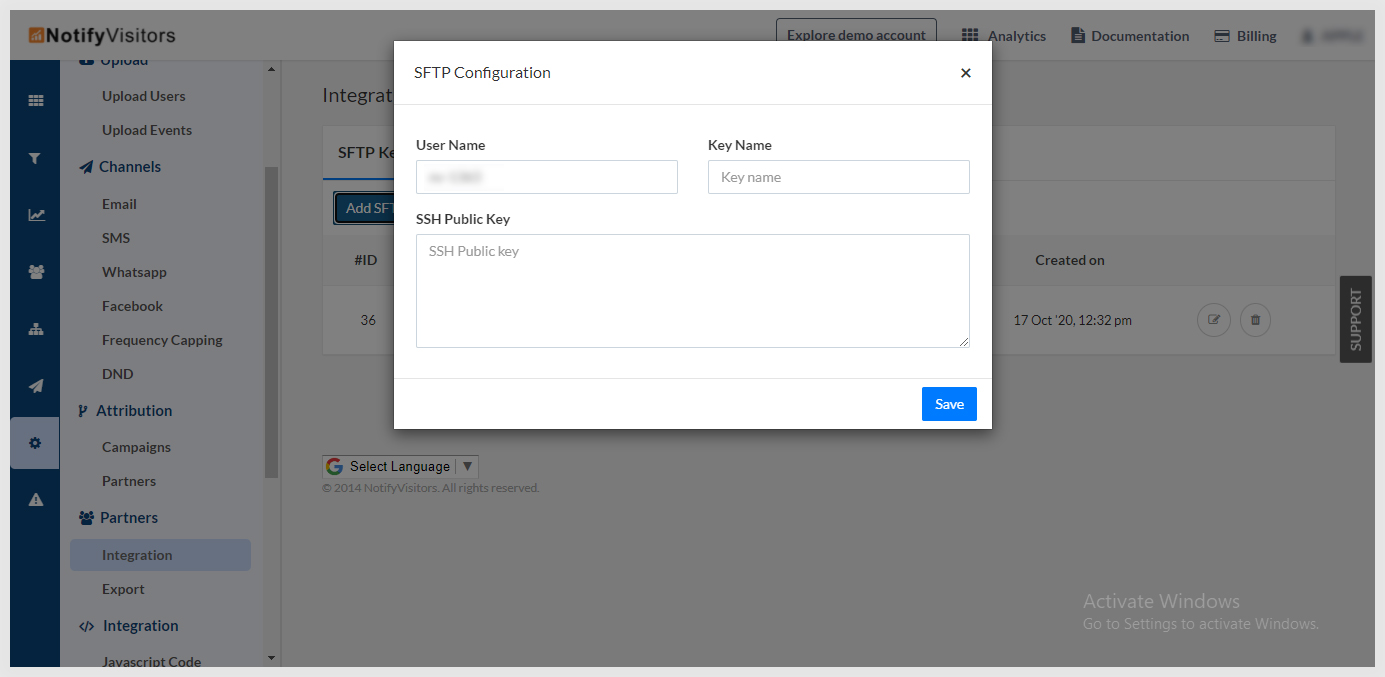
Step 1 : Navigate to NotifyVisitors account > Settings > Partners> Integration > Click on the SFTP key button.

Step 2 - Add credentials
You need to first generate an SSH key pair to have a secure and safe file transfer. Remember that our server must identify your SFTP client for a secure file transfer connection. Share the public key file with NotifyVisitors after the key is generated. Once the SFTP client is saved on our server, you can start with transferring the data file.

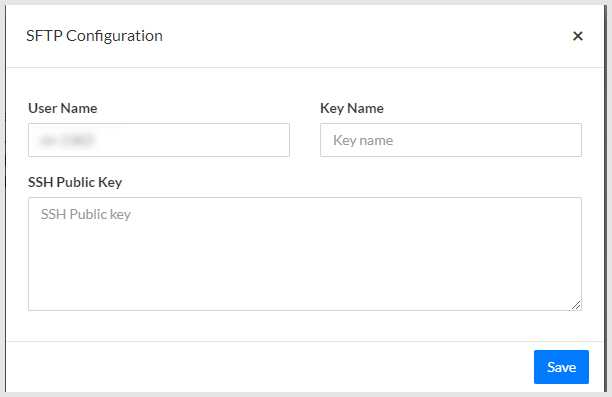
Enter your credentials in the above fields and click on the SAVE button.
Username - It is your Account ID and is generated automatically.
Key name : You can assign any name to the key for easier identification.
SSH key : It refers to the public key which enables you to upload data to NotifyVisitors.
Import CSV File to the SFTP server
Upload CSV file
Now, upload the CSV file to the SFTP server. You are required to create a manifest file, after you upload the CSV file in order to check the uploaded data with NotifyVisitors properties.
You need to upload your file in CSV format.
The files you can upload are of three types:
-
Event CSV file
-
User CSV life
-
Push Notification
Event CSV file : It refers to the events performed by the users. It contains all the event details which you would be sending to the NotifyVisitors.
It must have the following details :-
- The Name of the event
- The Timestamp of the event.
- The identification of the user. (the person who performed the event.)
Example
| Event_Name | Time_stamp | Identity | Item | Item_price |
|---|---|---|---|---|
| Purchase | 1543787234 | [email protected] | ring | 1300 |
User CSV file: It refers to the details of the user profile, which you will send to the NotifyVisitors.
The profile file must have the following fields:
- Identity of the user
Example
| Time stamp | Identity | id_name | id_email | age | Hobby |
|---|---|---|---|---|---|
| 154673457 | [email protected] | abc001 | [email protected] | 31 | "Music, Movies" |
You can perform the following operations to the properties :
- add : The following operation will add value to the property array.
- remove : This operation will remove the value from the property array.
- set : You can use this operation to replace the current value.
- delete : This operation removes the property.
- inc : This operation increases the value of any integer property.
- dec : The following operation will decrease the value of any integer property.
Push Notification : You can upload a CSV file of the users to whom you want to send push notifications.
Example
| Subscription_ID | Title |
|---|---|
| cndsjfkcewkflnewjfewjhbfewhjbfw== | Latest offers |
Upload Manifest file
Once you upload the CSV file, it's time to upload the manifest file. The manifest file is usually in the JSON format.
What is a manifest file?
- It is a JSON file that provides metadata for the uploaded CSV file.
- Data will only start processing, once you upload the manifest file.
- Keep a unique name for every manifest file.
Now let us have an overview of the manifest file for events and profiles.
- You need to create a manifest file to identify the custom events to NotifyVisitors events.
{
   "fileName":"test_data.csv",
   "type":"events",
   "columns":{
      "Identity":{
        "attrName":"userID", //mandatory
        "dataType" : "string"
      },
      "Event_Name":{
        "attrName":"event_name", //mandatory
        "dataType" : "string"
      },
      "Time_stamp":{
        "attrName" : "event_time", //mandatory
        "dataType" : "date"
      },
      "Item":{
        "attrName":"product_name",
        "dataType":"string"
      },
      "Item_price" : {
        "attrName":"product_price",
        "dataType":"float"
      }
}
- Also, create a manifest file to map out the user profile details to NotifyVisitors profiles.
{
   "fileName":"test_data.csv",
   "type":"users",
   "segment":{
      "id" : '', //pass segment id to upload users to existing list segment, pass blank to create new one
      "name" : '' //pass name to set name for new segments
   },
   "columns":{
      "Identity":{
         "attrName":"userID" //mandatory
      },
      "id_name":{
         "attrName":"name",
         "dataType":"string"
      },
      "id_email":{
         "attrName":"email",
         "dataType":"string"
      },
      "age":{
         "attrName":"age",
         "dataType":"float"
         "operation" : "inc"
      },
      "Hobby": {
         "attrName":"hobby",
         "dataType" :"array",
         "operation" : "add"
      }
}
- Next, create a manifest file to map out the details of the push notifications which you want to send to the subscribers.
The manifest file must have the following details :
a. notification_id - It refers to the notification, which you want to send to these users. Notification should be of the type - CSV.
b. schedule_time - It refers to the date and time at which you want to send the notification.
{
   "fileName":push.csv",
   "type":"push_notification",
   "notification_id": "88522",
   "schedule_time": "1595685092", //timestamp at which you want to send out the notification
   "columns":{
        "Subscription_ID":{
          "attrName":"subscription_id"
        }
   }
}
Now, follow these commands to upload the data :
sftp -i "private_key" -oPort=2200 [email protected]
cd upload_files
put filename
put filename.manifest
Validate upload status
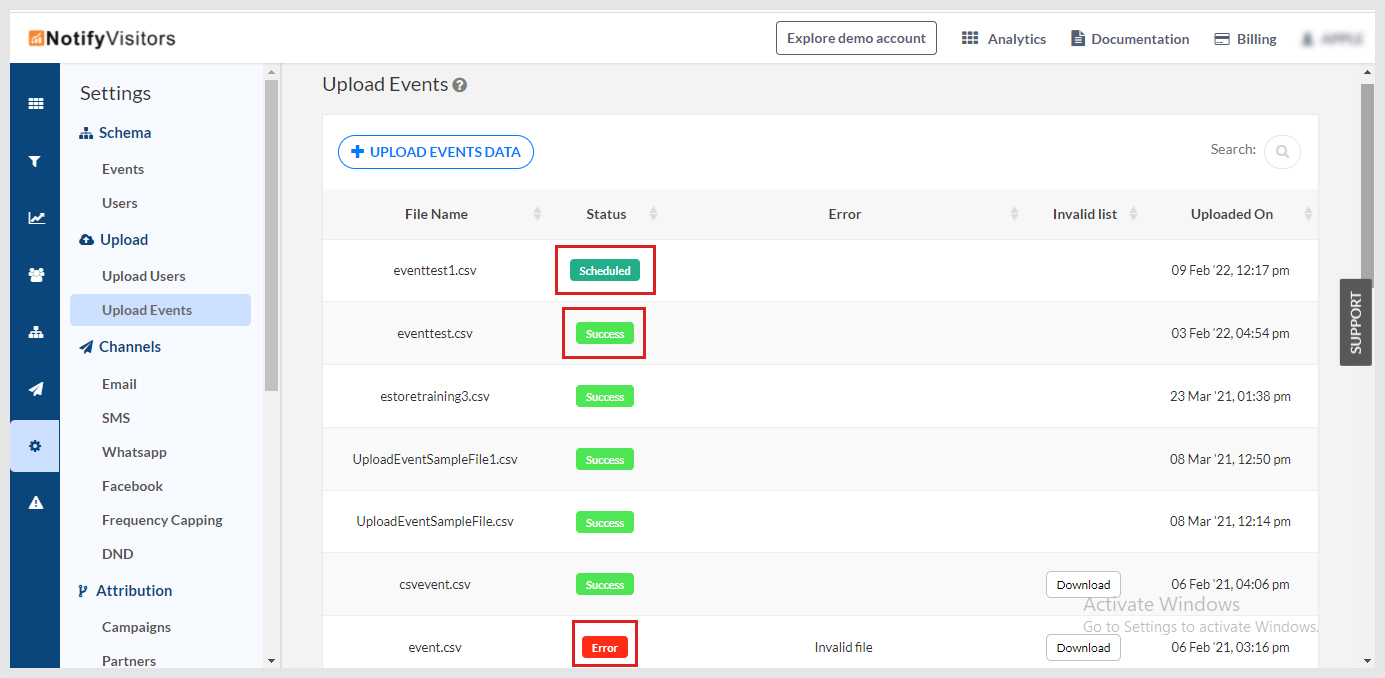
You can check if your CSV file is uploaded successfully or not. Navigate to NotifyVisitors panel > Settings> Upload section to validate the status.

Troubleshoot errors
There could be certain instances where you can have some errors while uploading the file.
Here are certain errors and the resolutions required for it.
| Error Name | Resolution |
|---|---|
| No data file found | The data file has not been uploaded. Upload it and create a new manifest file. |
| File could not be read | The file is not uploaded in the required format. Upload the file again with the right format, i.e., CSV for data files and manifest file for mapping |
| Event name is mandatory | The event name is not mentioned |
Updated about 2 years ago
