Integration Via GTM
Integrating website code with Google Tag Manager (GTM) can be a great way to streamline your website's tracking and analytics. Integrating code with GTM saves time since you won't need to visit your software developer for this purpose. In this post, we'll provide a step-by-step guide on configuring website integration code through Google Tag Manager.
How To Integrate NotifyVisitors Code On A Website Via Google Tag Manager
Integrating NotifyVisitors code on a website has never been easier. With the help of Google Tag Manager (GTM), now it’s just a few clicks away! GTM is a powerful tool that lets you manage your tags from one easy to use interface. With GTM, you can integrate NotifyVisitors code in the most efficient manner. Here’s how:
1. Login to your GTM account and create a new container for your website.
2. You can choose your default workspace by clicking on the Overview section.

3. Navigate to the left section of your workspace and click on the 'Tags'. Click on the 'New' button to create a new tag.

4. Once you click on the 'New' button, the tag configuration page appears as shown below.

5. To configure a tag, choose the tag type.

6. Move to the 'Integration Page' of your NotifyVisitors account and copy the NV code from here.

7. Paste the code to the 'Custom HTML' section of your Google Tag Manager account.

8. The changes made to the code will not be saved until you ubmit the details. Click on the 'Submit' button to perform this action. After you have created the tag, it will appear successfully as shown below.

Choose A Trigger For Your Tag
1. To make this tag fire, choose a trigger.

2. Give a tag name and click on the save button to install your tag.

Publish Your Tag
Once you click on 'Submit' the Submission Configuration Page will appear as shown below. Enter the 'Version Name', and 'Version Description'. Click on the 'Publish' button.

How To Debug The Code You Installed In Your Google Tag Manager
To debug the code you have installed in your Google Tag Manager, follow these steps:
1. Click on the 'Preview' button of your Google Tag Manager account.

2. The Tag Assistant Page appears. Enter the website’s URL where you want the debug tag window to appear.

3. Click on Connect and you can view the debug information from this window connected in a new window. The Debug information is viewable in a Tag Assistant Window as shown below.
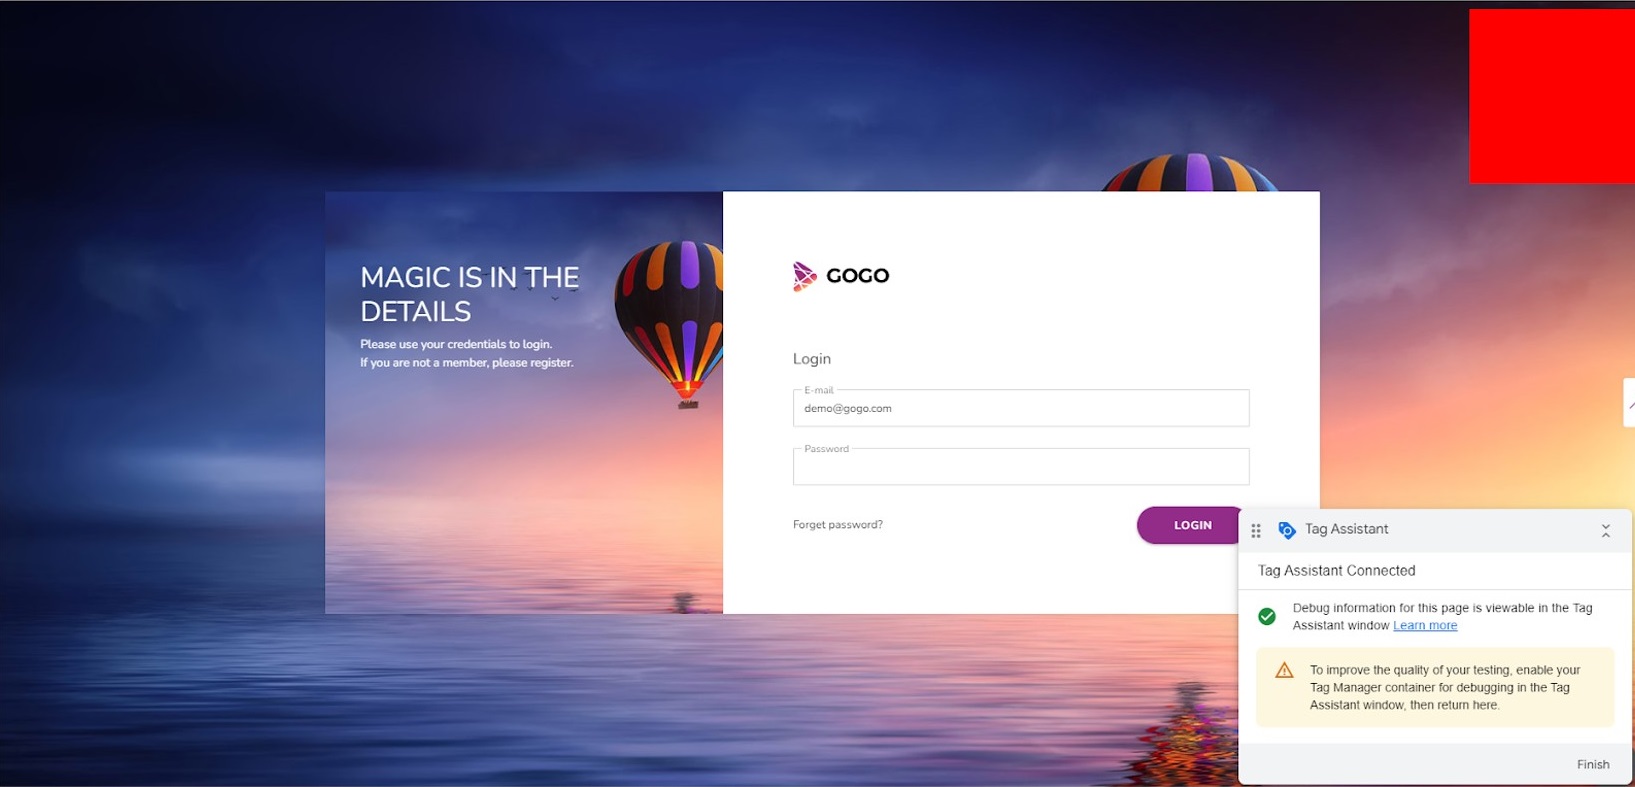
With these steps, your NotifyVisitors code will be successfully integrated into your website. Now, you can start getting valuable insights about users' behaviour on your website.
Updated over 2 years ago